How to Paint Walls: Step-by-Step Guide for a PRO Finish
Painting your walls is one of the easiest and most rewarding ways to give your home a fresh, stylish look without spending on a full renovation. All you need is some quality paint, a few basic tools, and a little patience to completely transform your space. You can even use your painting skills to add the luxurious appearance of wallpaper, without excessive expense or hassle, simply using stencils.
This beginner’s guide to wall painting walks you through everything you need to know. Whether you are refreshing a single room or giving your entire home a new vibe, painting is a beginner-friendly DIY project anyone can do and enjoy. Even beginners can use our simple painting techniques with stencils to create seemingly complex murals, paint accent walls, and more.
So let’s get started!

Supplies You'll Need for Painting Your Walls
Here's what you'll need for a successful paint job:
For Prep Work:
-
Drop cloth or plastic tarp to protect your floors and furniture
-
Painter's tape (Low-Tack 2-inch works great for most surfaces)
-
A damp cloth or a damp rag for cleaning walls
-
Sandpaper (220 grit) to smooth surfaces
-
Utility knife for cutting tape
-
Spackle and a spackle knife to patch holes
-
Latex Caulk for any gaps where baseboards and trim meet the walls
For Painting:
-
Paint roller with roller cover (⅜” nap for smooth walls and ½” if your wall has a texture)
-
Paint brush (get an angled brush for edges and trim)
-
Paint tray
-
Extension pole for reaching the ceiling without a ladder
-
Enough paint for at least two coats (calculate based on your room size)
-
Primer (especially important for repairs and raw spackle)
How to Prepare Your Walls Before Painting
Cover your floors and furniture with drop cloths and remove any wall décor, nails, and outlet covers.
Take your spackle knife and run it lightly over the walls. We like to use a 6” spackle knife for this. This will knock off any little bumps left behind from the previous paint job.
Next, you’ll want to fill any nail holes and cracks with spackle. It’s better to pull your spackle knife close to the wall when filling holes and cracks instead of slopping on the spackle and having to sand off the excess later which can cause a dusty mess! Spackle tends to shrink a bit when it dries so it may take a few coats to get it level but you will only have to do a light sanding with 220 grit sandpaper to smooth it out keeping the dust to a minimum. Then you can quickly and lightly sand the entire wall with the 220 grit sandpaper to help with paint adhesion as well as making the entire surface smoother.
Now that the walls are smooth and repaired we can clean up the dust. Vacuum the floor and baseboards and don’t forget the tops of the door and window trim! Then take a damp cloth and wipe the wall down, rinsing the rag as it gets dirty. Cleaning up after your wall preparation will prevent contaminating your new paint and roller, helping to ensure a smooth finish :)
Caulking any gaps where the baseboards and trim meet the walls completes the prep. Cut the tip of the caulk tube at a slight angle approximately ¼” in size. Angle the tip of the caulk tube so it forces the caulk into the gap. Now with a damp rag, wipe off any excess caulk to smooth it out.
Once the caulk has dried it’s time to mask out any surface that you don’t want to paint. This can include the ceiling, trim or any other areas you’d like to keep clean such as bookcases or radiators. We prefer 2” Blue Painter's Tape for this. Painter's tape is generally “lower tack” or less sticky than traditional masking tape which can in many cases, damage or pull off the surface that it is applied to. Make sure to burnish down (press firmly) the edge of the tape. This helps to achieve a nice clean line.


How To Paint a Wall
Now that the hard work is done it’s time to break out the paint! We’ll start with the primer. Primer is really only necessary for sealing the raw spackle and the repairs. Raw spackle repairs are very porous and need to be sealed off before applying the finish coats of paint. This procedure helps to insure an even finish sheen without “flashing”. Flashing is an uneven look in the sheen.
We recommend a water-based primer for most cases. The only time to use an oil based or alcohol based primer is when you have bad mold or water stains. In this case we recommend a product called “Bin” by Zinsser.
After your repairs are completely dry and lightly sanded, apply the primer to your repairs with a brush or a foam roller. If you keep the application smooth there is no need to sand the primer. Once dry you are ready for your finish coats!

After applying primer, start painting by “cutting in” the edges. We used an angled brush or small foam roller to paint a 2–3 inch border along the ceiling, corners, and trim. This prevents your larger 9” roller from smudging areas you want to keep clean. You will most likely need to do this twice.

To paint the entire wall evenly, we used a 9” roller with a ⅜″ nap. The ⅜-inch nap refers to the thickness of the roller’s fibers, which helps it hold just the right amount of paint for smooth and even coverage. If your wall has a slight texture, you can use a ½” nap roller to help get into the low spots of the texture.
When loading your roller with paint in the paint tray, try to do it evenly without getting too much paint on the edges or the sides of the roller which can leave heavy roller marks on your wall. We recommend rolling the roller in a “W” motion and slightly overlapping each pass for consistency. After it dries completely, apply a second coat if needed.
Once the paint is dry, gently remove the painter’s tape, pulling it off at a 45-degree angle. Once unmasked, if you spot any small areas that need fixing, use a small brush for quick touch-ups.
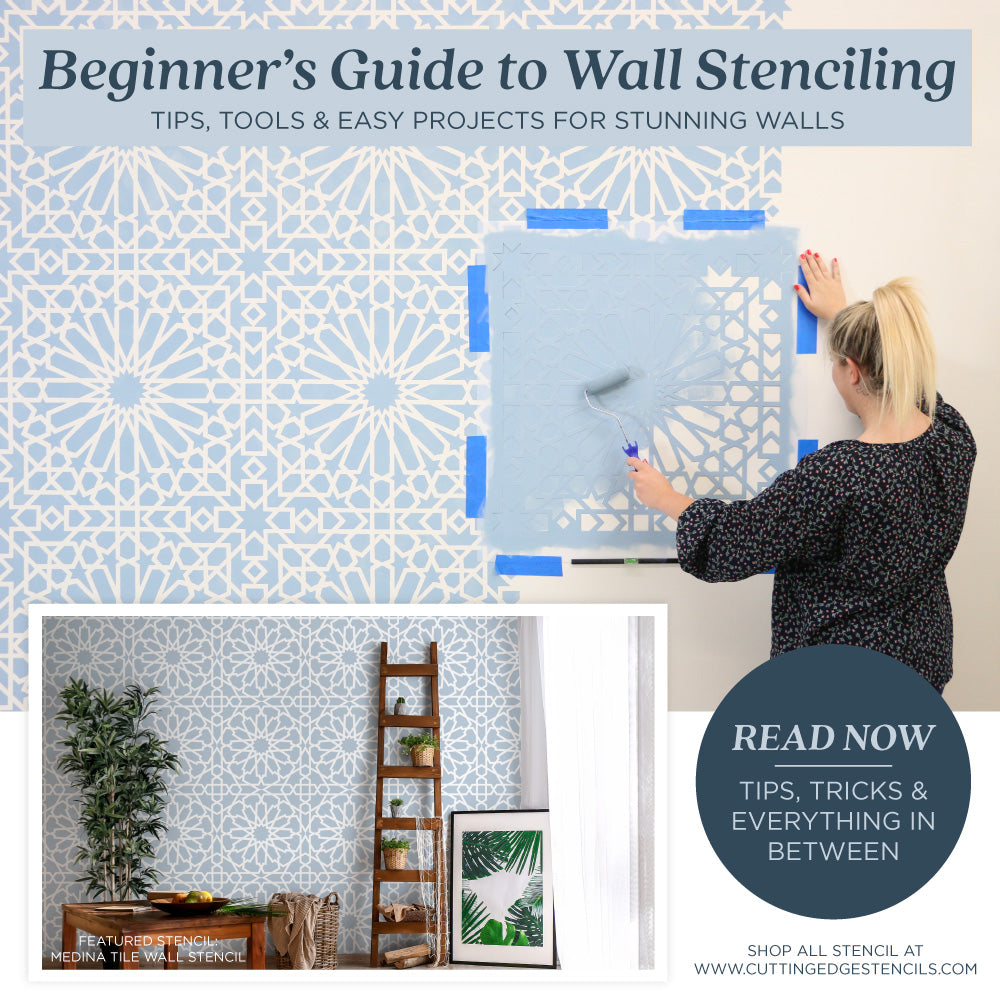
To add a decorative touch, you can now use wall stencils to bring pattern and life to your freshly painted walls!
Decorate Your Walls with Stencils

Once you have learned how to paint walls with a solid color, take your project to the next level with wall stencils. They are an easy and affordable way to add pattern, texture, and life to any room.
Our beginner’s guide to wall stenciling makes it easy to create designer-style walls with just paint and a stencil. You can try it on an accent wall, behind your bed, or even in a hallway for a simple yet stunning upgrade.
Also, explore our 2025 Color Trends to find beautiful paint and stencil combinations that bring your vision to life.
BONUS: How to Select the Right Paint
Types of Paint You Can Consider
Flat / Matte Paint: Perfect for bedrooms, ceilings, or low-traffic areas. It hides wall imperfections beautifully and is washable, so you get that smooth, elegant look that’s easy to maintain.
Satin Paint: A soft, subtle shine that is great for most walls. It’s easy to clean and works well in living rooms, dining rooms, and bedrooms.
Eggshell Finish: Eggshell offers a smooth finish with just a hint of sheen and is ideal for rooms that need both style and durability.
Semi-Gloss Paint: Best for high-moisture areas like kitchens and bathrooms. It’s durable, easy to wipe, and perfect for trim, doors, and moldings.
Low or Zero-VOC Paints: A smart, eco-friendly choice for modern homes. These paints keep indoor air cleaner and are safer for families with kids and pets.