How To Paint A Farmhouse Buffalo Check Pattern With A Wall Stencil
Easily Paint a Buffalo Check Feature Wall with a Farmhouse Wall Stencil
Welcome farmhouse trend fans!
Cutting Edge Stencils wants to show you how to paint a
Buffalo Check Accent Wall in an easy and resourceful way using
wall stencils! Other Buffalo Check painting tutorials have too many steps, insist on wasting tons of tape and time!
Painting your accent wall with a wall stencil will allow the savvy DIYer to customize the color and size of the
Buffalo Check accent wall pattern to match any room in their home.


The
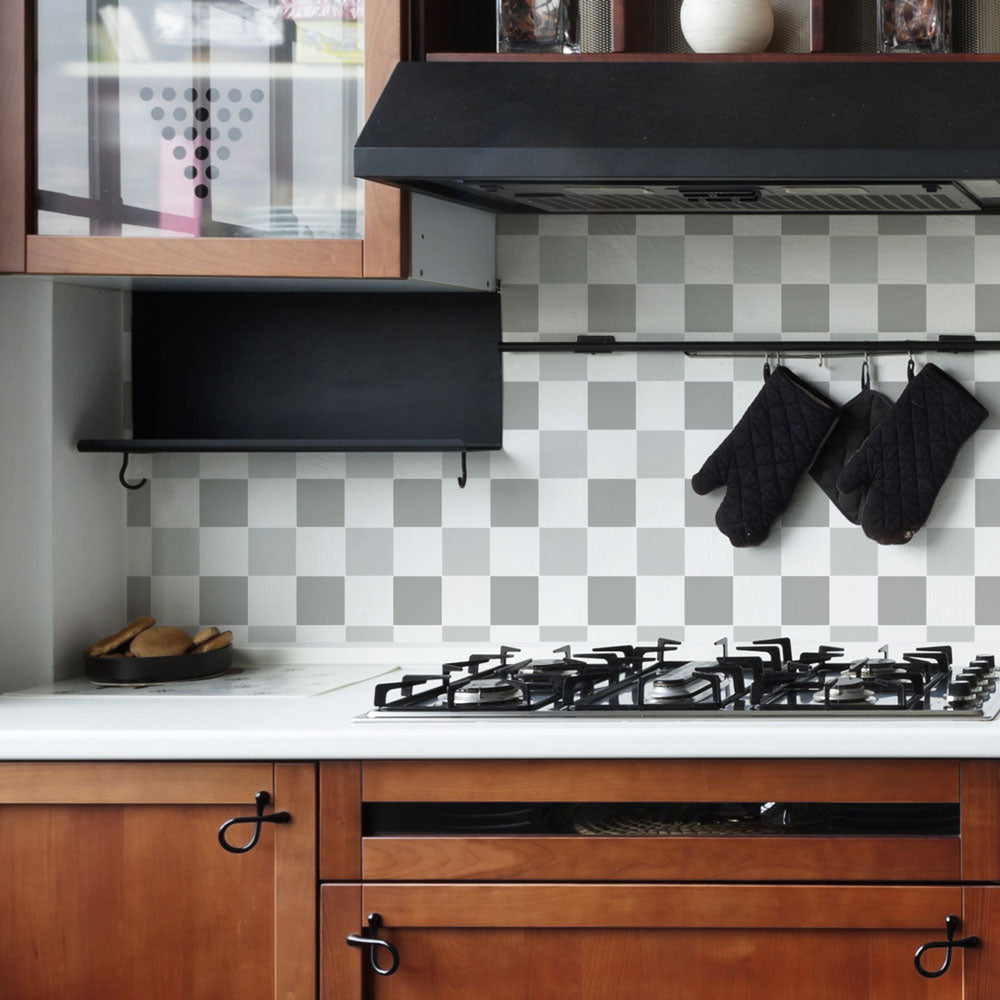
Buffalo Check wall pattern looks great in different shades of blues, reds, and greys. No matter what color scheme you decide to
stencil on your wall, you will be working with three colors. For example, we chose white, grey, and black. Before
stenciling your wall,
your basecoat (wall) must be the medium color, which for us was grey. When you start stenciling, you will be working with your lightest and darkest colors.

The Buffalo Check
geometric wall pattern calls for super crisp lines. Applying spray adhesive to the back of your
wall stencil before every other repeat will reduce your chances of paint seepage under the stencil and give you straight lines!

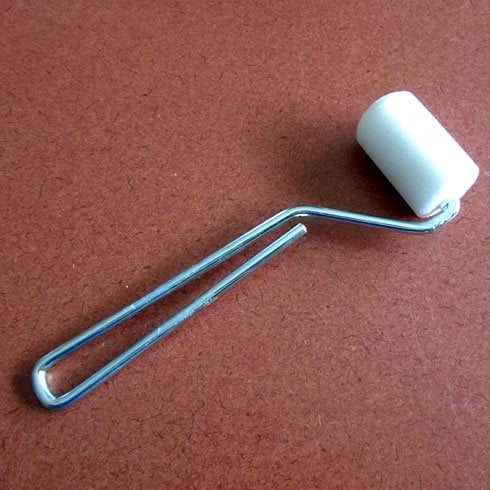
Adding paint to your roller with this simple technique will also decrease your chances of getting paint seepage under the stencil. Take your 2” dense
foam roller for stenciling and gently push it into the paint until the foam roller is evenly covered. Now, work as much paint as you can into the roller by repeatedly rolling on the plate. Once your foam
roller for stenciling is covered, offload any excess paint onto a paper towel.

Now it’s time to get to work! Hang your
wall stencil with blue painters tape and grab your first color. We started with our darkest color, black. Now, lightly roll the paint over each square in every other column on the
wall stencil.

Fill in the left-over columns on your
wall stencil with your lightest color. Feel free to go back in with the dense foam
roller for stenciling and add another coat of paint over your lightest colored columns in order to get a bold look!

After you peel your wall stencil and reveal the beginning of your new
stenciled accent wall, wait 1-2 minutes for the paint to dry. Once dry, realign the
wall stencil with the previously painted registration marks and repeat!

We've seen countless
Buffalo Plaid painting tutorials that make the process more tedious than it needs to be! Your time and endless rolls of tape are wasted trying to create lines that sometimes don't even end up straight! When you buy a wall stencil, all you need to know is
Hang,
Paint, and
Repeat! Cutting Edge Stencils even invented a handy stenciling tool, the
Clip-On Stencil Level, which saves you time and gives you a straight
wall stencil pattern instantly!

When it comes to
DIY projects, nothing beats a stencil!
Wall stencils are
more affordable than wallpaper and
cut down the number of steps in most DIY painting projects.

One of our customers @Hautehouselove
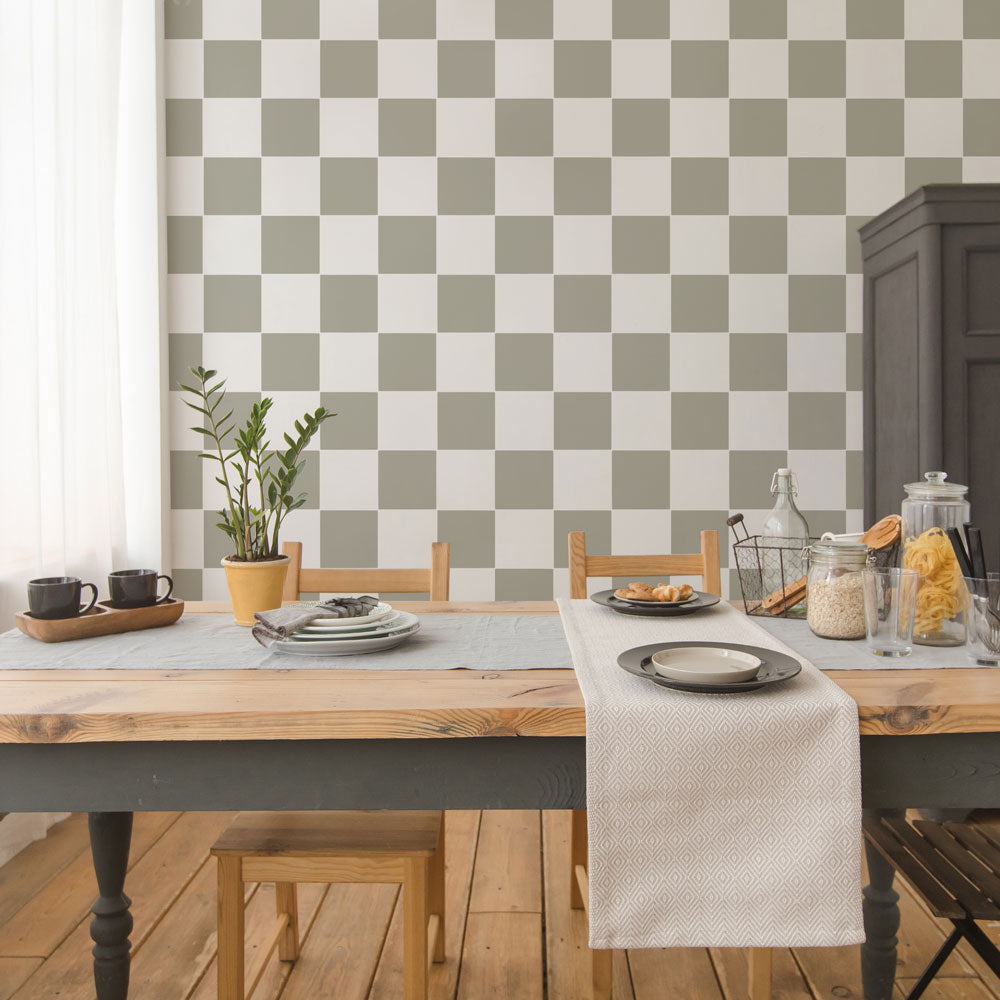
stenciled an accent wall in her nursery with our Buffalo Check Allover wall pattern and we can not get enough! She decided to
stencil her nursery accent wall with lighter color choices which gave the room a modern, clean look!


 The Buffalo Check wall pattern looks great in different shades of blues, reds, and greys. No matter what color scheme you decide to stencil on your wall, you will be working with three colors. For example, we chose white, grey, and black. Before stenciling your wall, your basecoat (wall) must be the medium color, which for us was grey. When you start stenciling, you will be working with your lightest and darkest colors.
 The Buffalo Check geometric wall pattern calls for super crisp lines. Applying spray adhesive to the back of your wall stencil before every other repeat will reduce your chances of paint seepage under the stencil and give you straight lines!
 Adding paint to your roller with this simple technique will also decrease your chances of getting paint seepage under the stencil. Take your 2” dense foam roller for stenciling and gently push it into the paint until the foam roller is evenly covered. Now, work as much paint as you can into the roller by repeatedly rolling on the plate. Once your foam roller for stenciling is covered, offload any excess paint onto a paper towel.
 Now it’s time to get to work! Hang your wall stencil with blue painters tape and grab your first color. We started with our darkest color, black. Now, lightly roll the paint over each square in every other column on the wall stencil.
 Fill in the left-over columns on your wall stencil with your lightest color. Feel free to go back in with the dense foam roller for stenciling and add another coat of paint over your lightest colored columns in order to get a bold look!
 After you peel your wall stencil and reveal the beginning of your new stenciled accent wall, wait 1-2 minutes for the paint to dry. Once dry, realign the wall stencil with the previously painted registration marks and repeat!
 We've seen countless Buffalo Plaid painting tutorials that make the process more tedious than it needs to be! Your time and endless rolls of tape are wasted trying to create lines that sometimes don't even end up straight! When you buy a wall stencil, all you need to know is Hang, Paint, and Repeat! Cutting Edge Stencils even invented a handy stenciling tool, the Clip-On Stencil Level, which saves you time and gives you a straight wall stencil pattern instantly!
 When it comes to DIY projects, nothing beats a stencil! Wall stencils are more affordable than wallpaper and cut down the number of steps in most DIY painting projects.
 One of our customers @Hautehouselove stenciled an accent wall in her nursery with our Buffalo Check Allover wall pattern and we can not get enough! She decided to stencil her nursery accent wall with lighter color choices which gave the room a modern, clean look!


