For expert stenciling tips, please watch our How-to stencil videos! You'll find them extremely helpful for your stenciling project. Even beginners get great results!
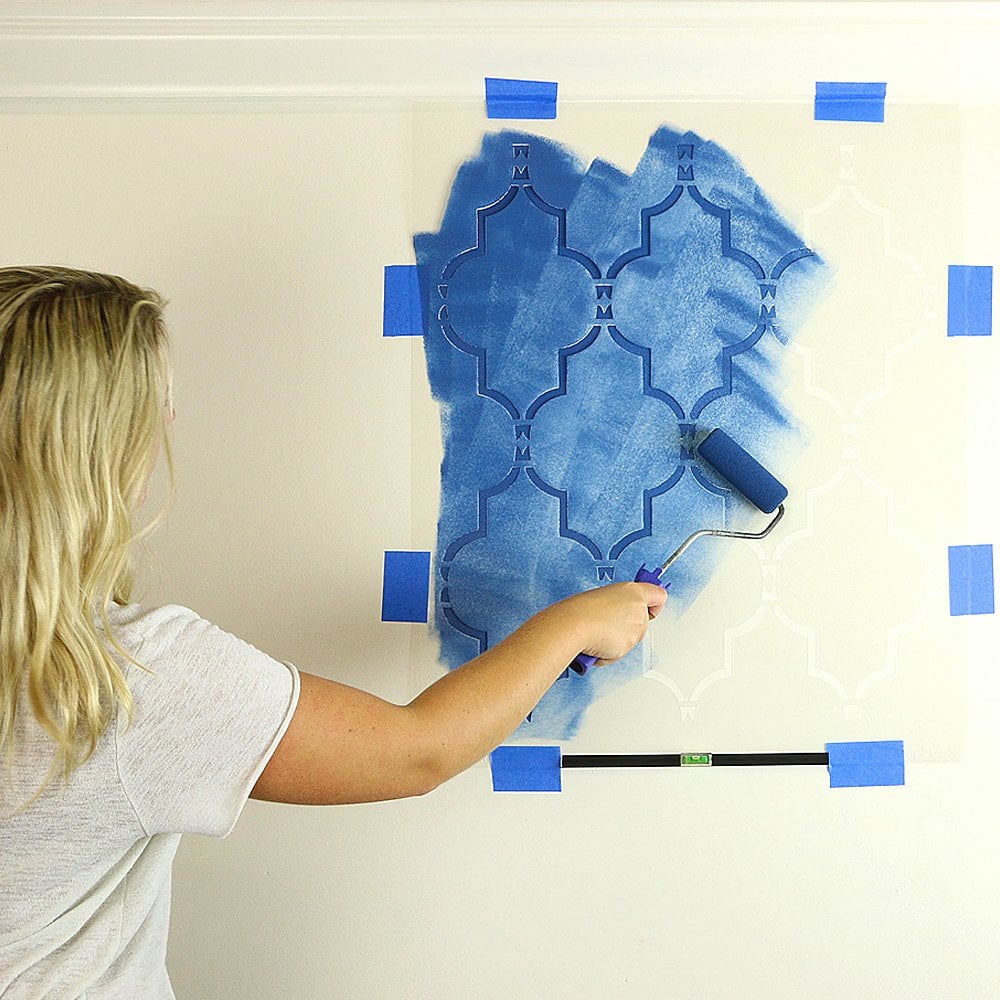
Although most of our stencils do not require the use of spray adhesive, if your walls have a texture to them, it might be a good idea to use spray adhesive to help minimize paint seepage (Elmer's spray adhesive seems to be the best). Make sure you shake the can well and lightly mist (not drench) the stencil, and let it dry for a moment before positioning it on the wall. This step will prevent the adhesive residue transferring to the wall. You'll need to re-mist the stencil after a few repeats. Note: you will still need to hold the stencil in place with a few pieces of blue painters tape! Adhesive by itself is not enough to hold the stencil on the wall. Clean-up tip: Spray the stencil with Simple Green to help to remove adhesive residue and let it sit for a while before cleaning with soap and water. Please note that it is virtually impossible to get rid of all adhesive residue. That's why we personally prefer not to use it and just stick with painter's tape!
Stenciling on rough or textured walls may contribute to increased paint bleed. For more information on stenciling on textured walls, see our F.A.Q. section.
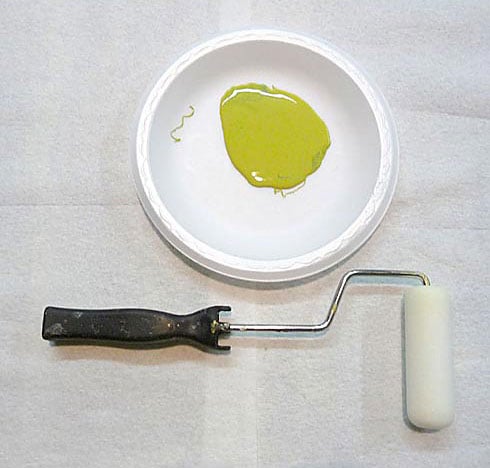
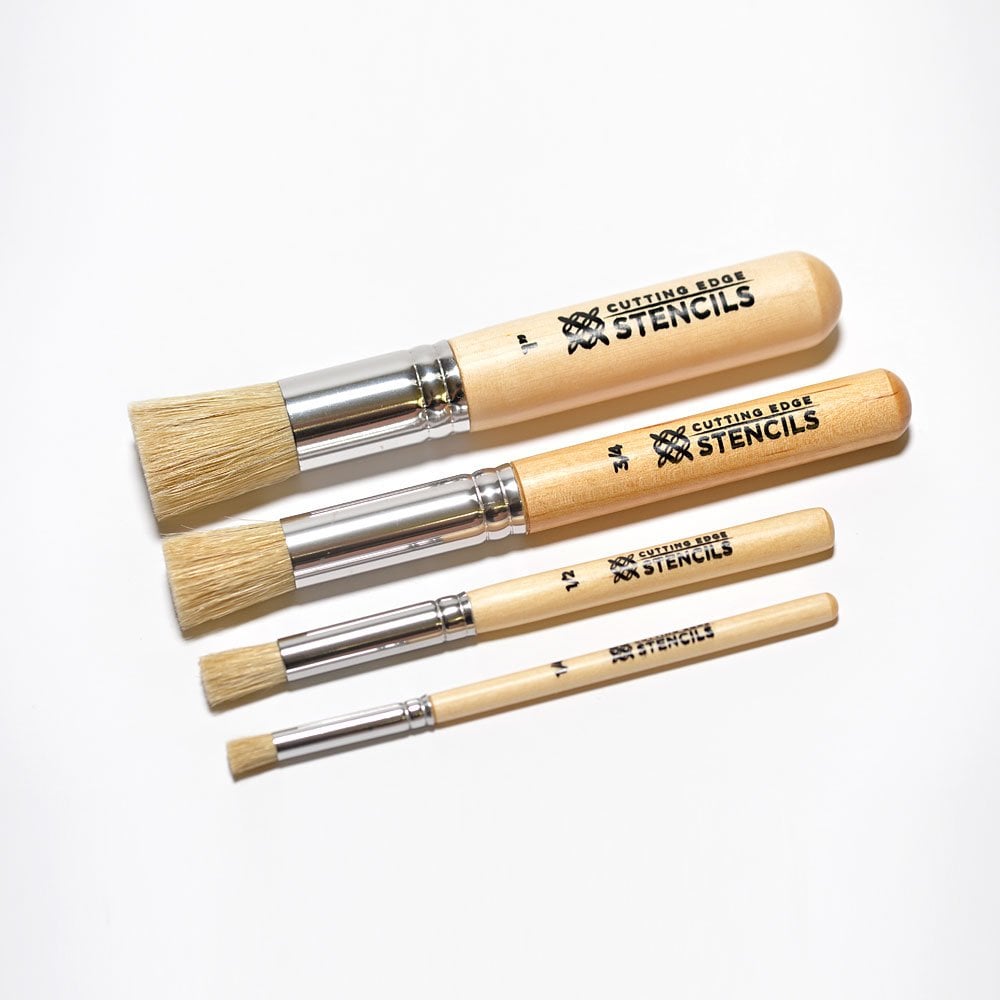
About seepage and imperfections: Even with a proper loaded roller and correct technique you might get some minor paint seepage here and there. In most cases it's not noticeable, especially from a couple of feet away and it can be easily touched up with a small brush. Don't forget that you're creating a "hand-painted finish". A few imperfections and some paint seepage here and there are natural and inevitable for this type of work. To avoid seepage, use spray adhesive and less paint on your roller and brush.
Our stencils are made to last and with proper care and storage will serve you for long time.