


Great project!
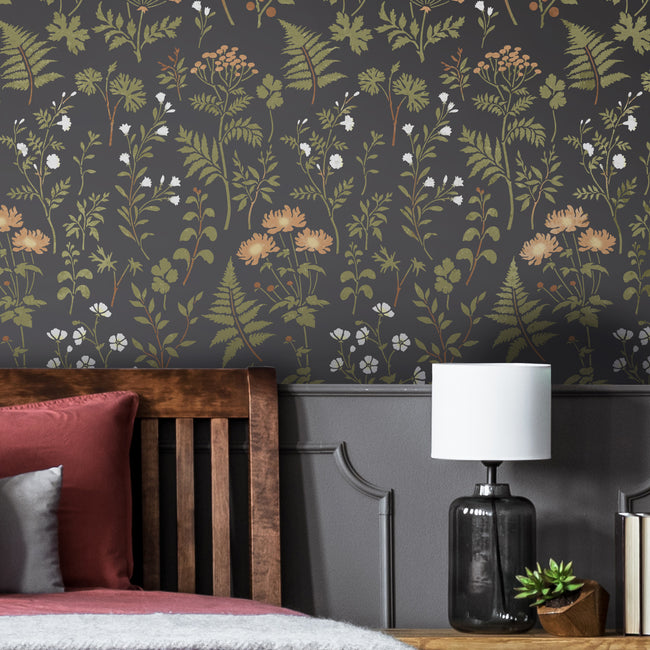
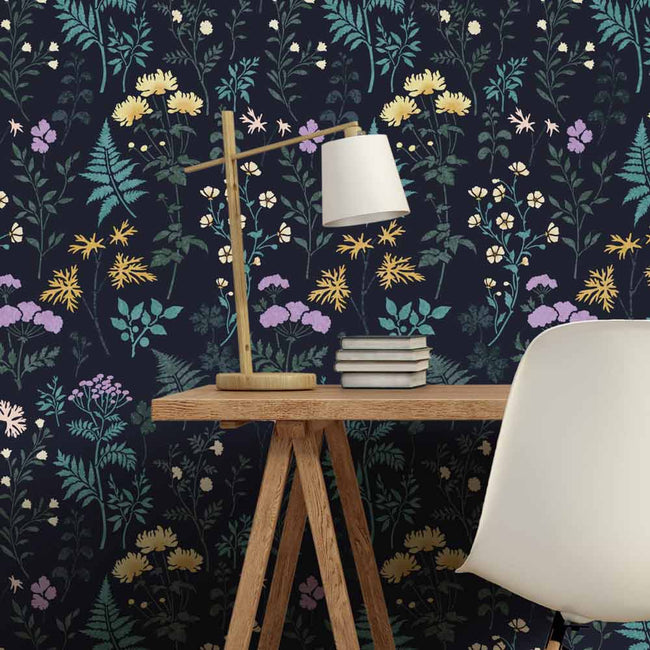
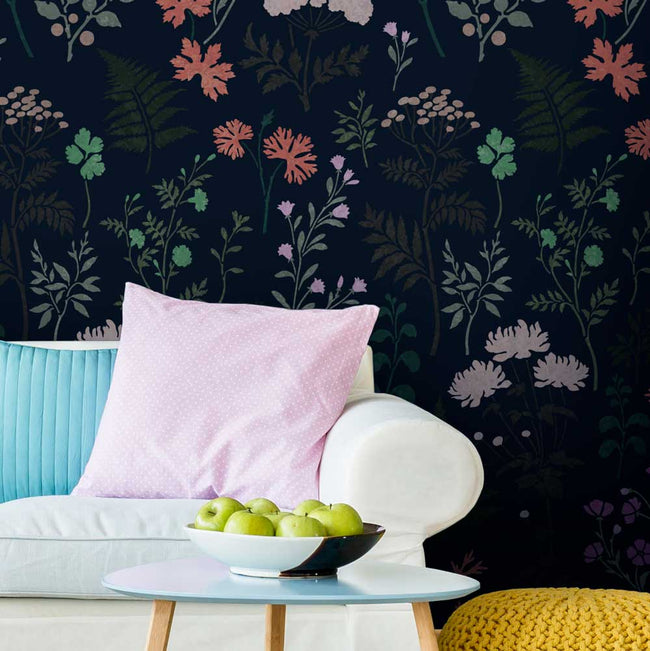
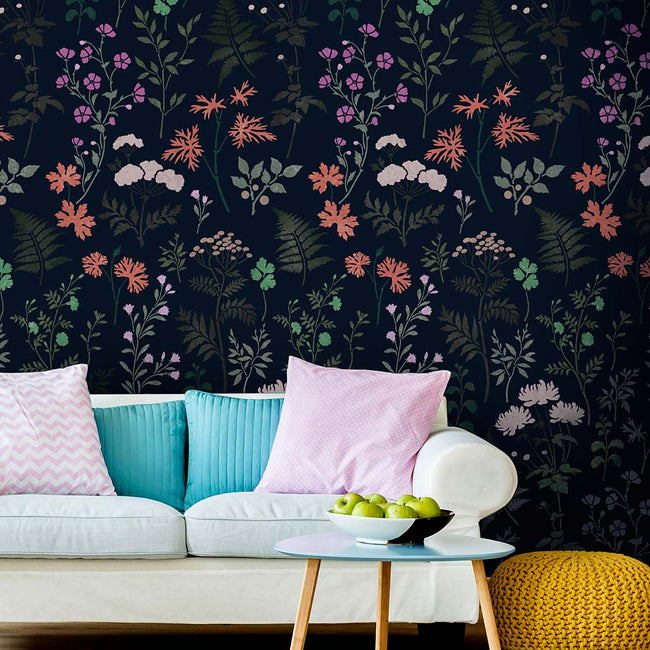
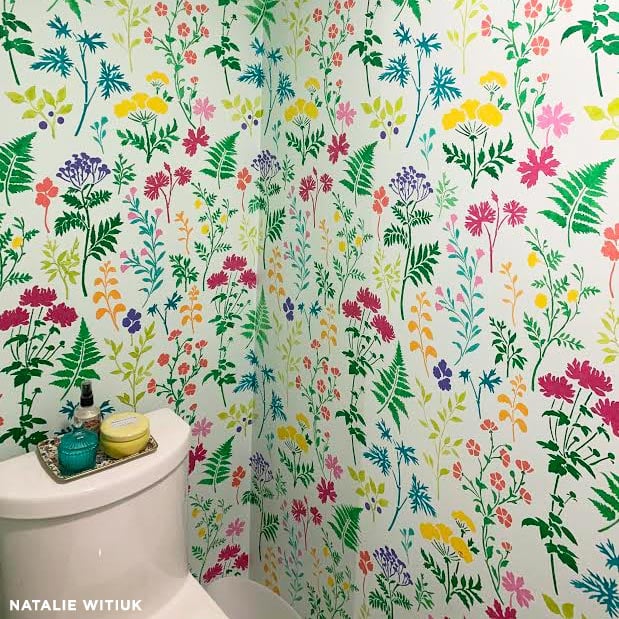
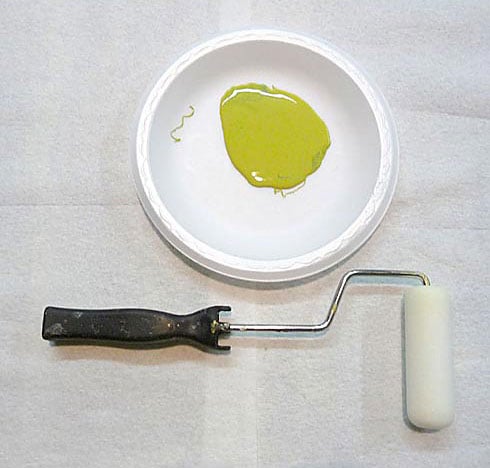
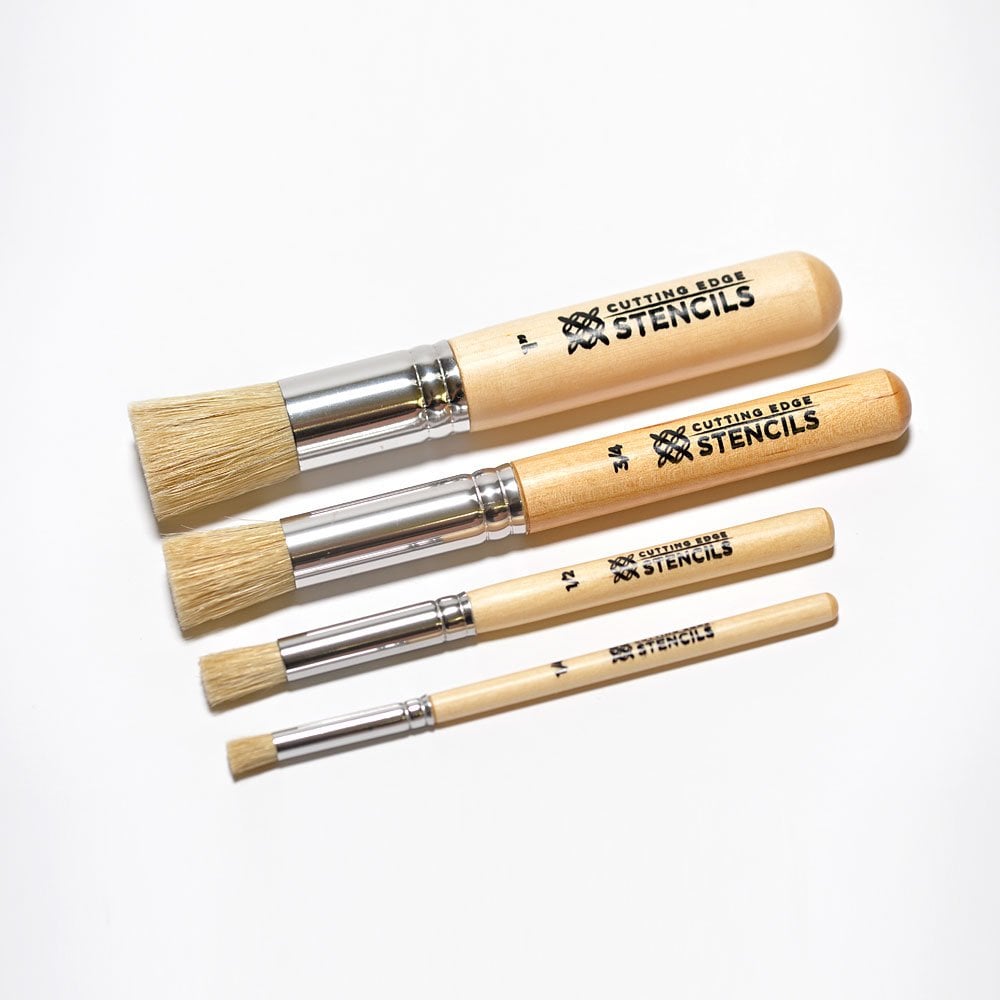
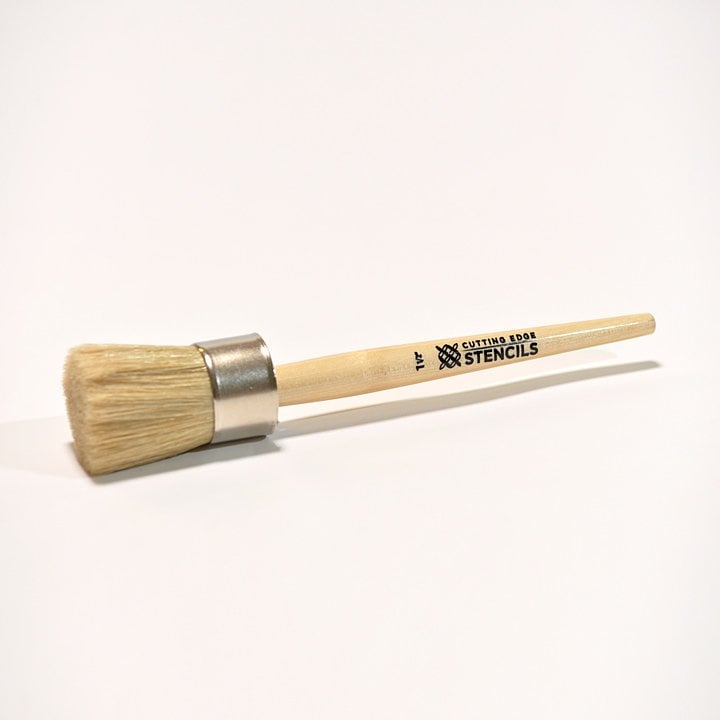
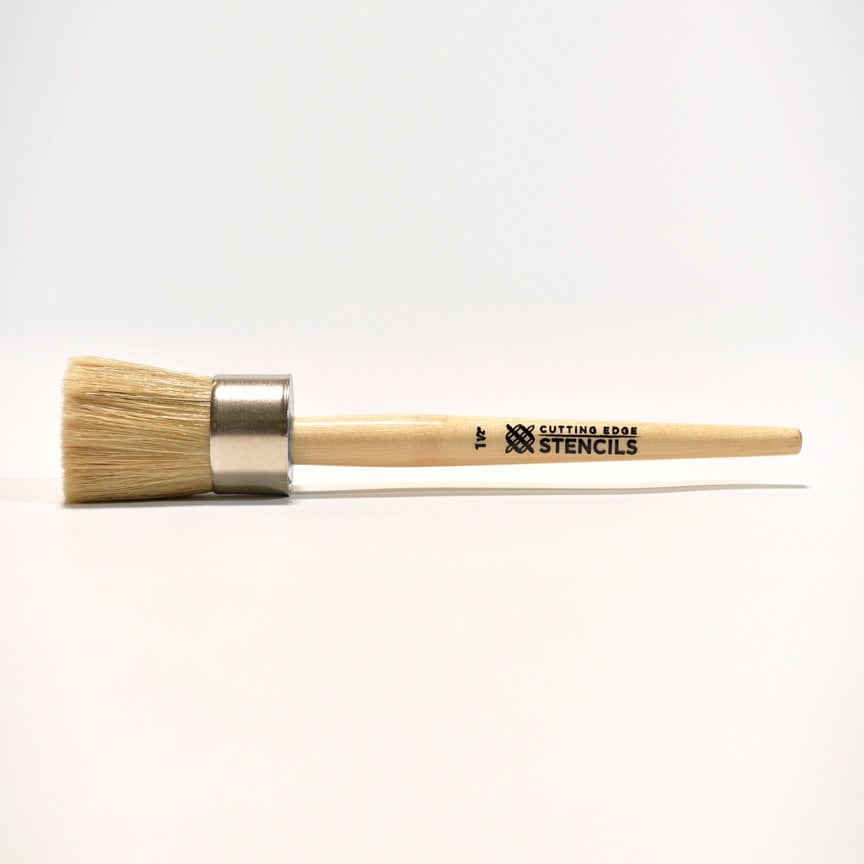
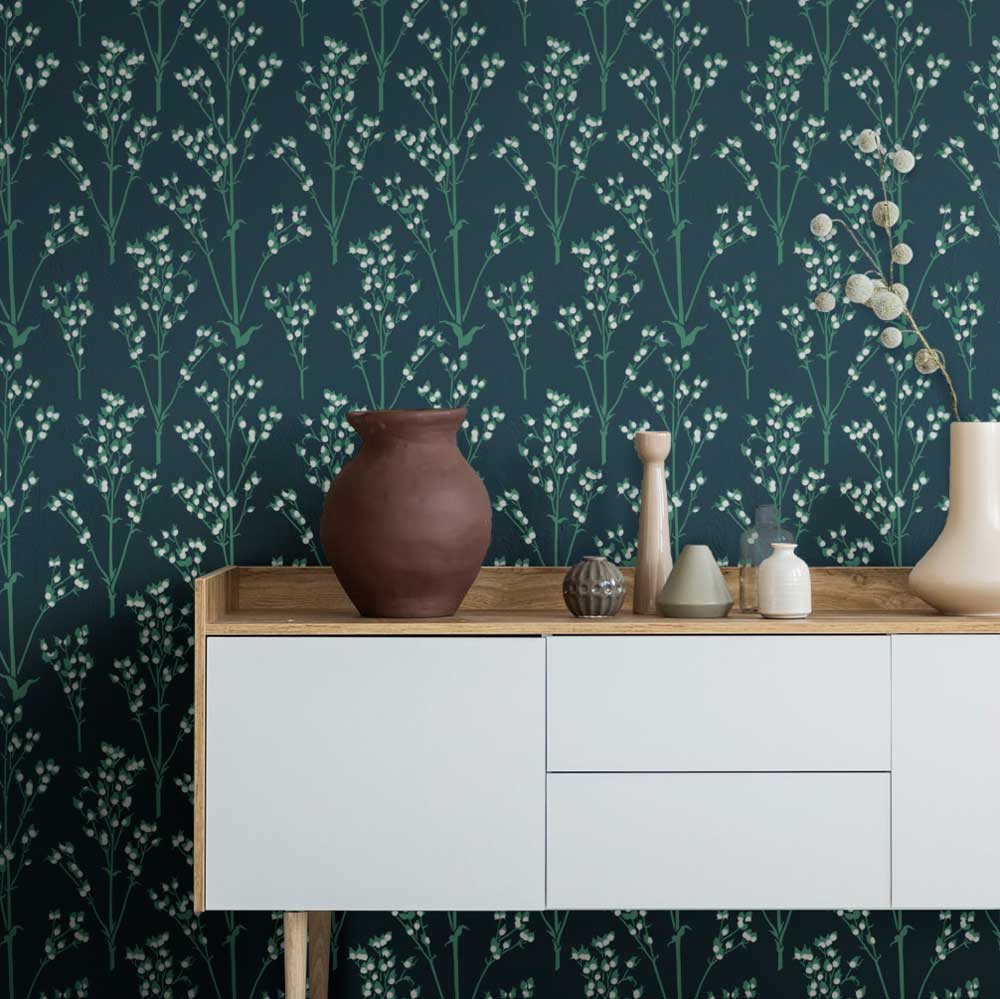
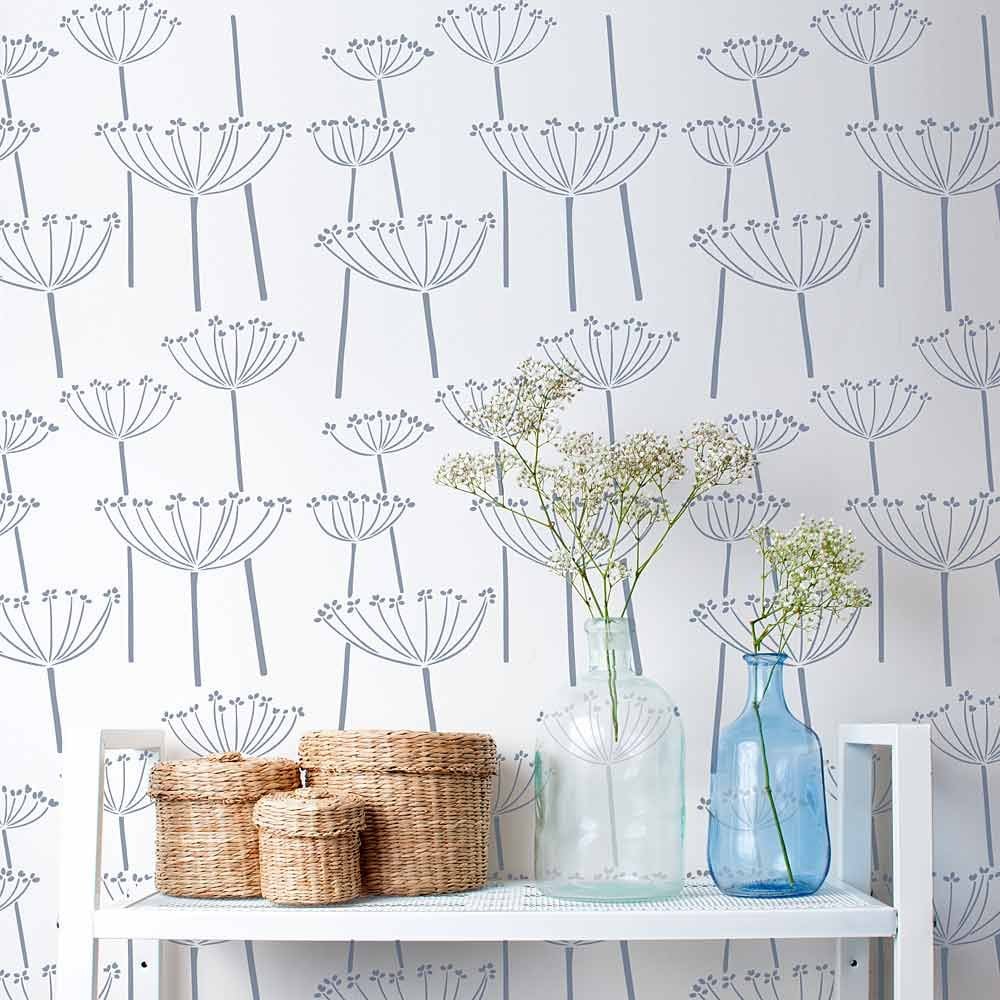
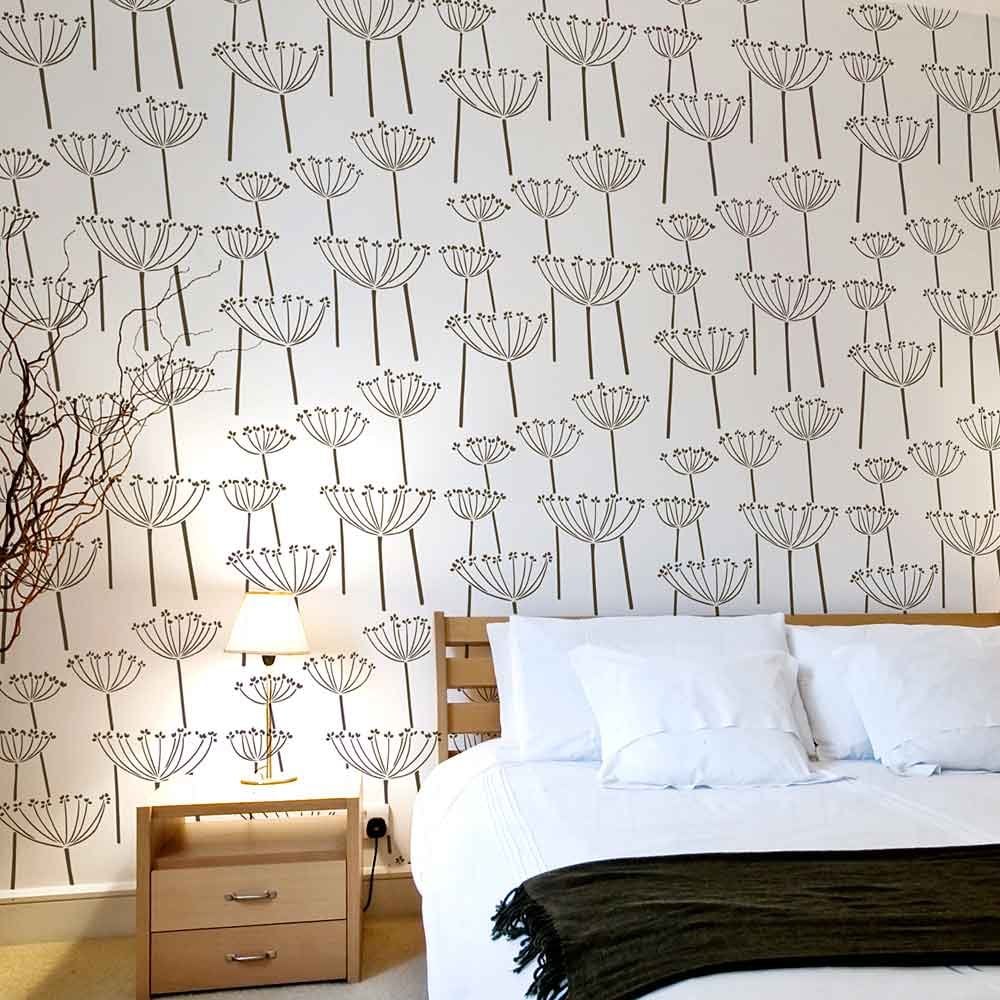
"Great design! It helped me create the whimsical, fun look I was hoping for :). Tedious? Yes. I used a lot of colors. Difficult? Not at all. This was my very first time doing a stencil and painting is not intuitive to me. I just watched a few YouTube videos and followed the instructions. I also did one practice stencil to get my bearings. I highly recommend you give it a try :). Here are specifics for those who are interested — This project was done on the back wall of a 8x12 closet over satin finish paint. It took me approximately 1 hour to complete the stencil and I repeated it 21 times (plus 3 half stencils to finish out the end). A more motivated person could finish it in a week, but I’ve got kids and a billion other things to do, so it took me about 2 months to knock this out. Obviously, less colors would make this go WAY faster because you could use a roller. A total of 14 colors were used. I paid $1. 79 a piece. One bottle of each was sufficient for the entire project with the exception of the darkest green, which required a second bottle. I used paper plates for my palettes with paper towels for offloading the brush. I purchased stencil brushes in sizes 1/4, 5/8, 3/4, and 1 inch. If you plan to use lots of colors on this particularly stencil, I do not recommend anything larger than 3/4. As far as quality, I don’t have anything to compare them to, but there was a fair amount of shed in the beginning with all of them. Keep a pair of tweezers handy to get the hairs out of the paint. It got better as the project went on, though. I bought the “brush washer” they sell and was glad to have it. I minimized washing by painting from light to dark, but I still washed them a lot in between colors……. they seem to be in good shape after the fact. Pleased overall. I bought the level, too. I only used it a few times, but was very glad I had it since I was working by myself. This design is very forgiving, but if it were a geometric in nature I would say this tool is essential. I washed the stencil once, as the paint had caked up enough to alter the finished product. The stencil itself is intricate and you will need to be careful cleaning it. I tried some methods I saw online and actually damaged the stencil by scrubbing with a soft brush. Adding insult to injury, the paint still wasn’t coming off. I was discouraged, but my husband found an awesome solution — we laid it on the kitchen counter and sprayed it thoroughly with Goo Gone then covered it over with plastic wrap. It sat for a couple hours and when we lifted the plastic, the paint wiped off cleanly with a sponge. I followed it up with a quick rinse in the shower (it stuck to the wall like a window cling) using dish soap to get the oily goo gone off. Good as new! Dunno if it’s good for the stencil…. but it worked great for me. Just pay attention to the direction you are wiping as not to bend the tiny little pieces. Lastly, a personal recommendation— I knew this was gonna be a time consuming project. I found it helpful to do a little “pre-project palette” to hedge my bets and make sure I knew what I wanted. I got an 8x10 piece of cardstock in a color very similar to the wall. On one side I put swatches of the paint/decor in my bedroom. Then on the other I made stripes with potential paint colors. I looked it over for a few days before I started and my eyes kinda did their own process of elimination, narrowing down what I liked, didn’t like, or maybe what was missing. It was a huge help. I know that’s a lot, but hopefully it will help someone else thinking of giving it a go!"
