Secrets Only Pros Know About Stenciled Inlays
"Creativity Takes Courage" - Henri Matisse
Inlaying furniture with a stencil isn't as intimidating as it seems. In this blog post and video tutorial, Cutting Edge Stencils is going to expose important stenciling secrets and share some Pro-Tips on how to stencil inlay designs on furniture in no time! You may own an old table or dresser you can’t seem to get rid of and let’s be honest, it doesn't match the rest of your cute home decor. Why not stencil it? With Cutting Edge Stencils inlay stencil kits, you have the chance to give life to a loved piece of furniture with an easy and super fun makeover.

How do I know which Inlay Stencil Kit to choose? They're all amazing!
Deciding which Cutting Edge Stencils inlay stencil kit works best for your project can be a tough decision. Every stenciler has a unique creative process, which means no two pieces are the same. When choosing an Inlay Stencil Kit, think about the shape and size of your Furniture. It sounds self-explanatory, but this part requires attention to detail when browsing the inlay stencil section. A majority of inlay stencil kits are painted on rectangular-shaped furniture. If you’re looking to stencil a round table, lucky for you, Cutting Edge Stencils has also designed round inlay stencil kits too. Here is my very first Pro-Tip when buying an inlay kit: The Bigger The Better. The larger inlay stencil kits have a wider variety of stencils that will come in handy when choosing which stencils best fit on your piece. Cutting Edge Stencils frequently has amazing sales so you can splurge on a larger stencil kit you've had your eye on! Sign up for their newsletter so stay updated on new sales. For this DIY stenciled table, I used the Large Asha Bone Inlay Furniture Stencil Kit.
Yay! My gorgeous stencil kit just arrived in the mail. Now what?
Now we move on to prepping our piece! Remove any drawers and other hardware that will prevent you from stenciling with ease. Our ultimate goal during our prep session is to remove the previous topcoat that is currently covering your surface. If you are working on an old wooden piece with a thick topcoat, consider stripping down with Klean Strip Premium Stripper. For more detailed instructions on stripping away a topcoat, checkout this previous Cutting Edge Stencils blog post. If you’re able to skip that step, begin sanding down your piece with 120 - 220 grit sandpaper. You can use a power sander for the larger surfaces, but you’re going to want to sand it by hand if you’re working with smaller drawers. Once you’ve completely sanded that previous topcoat off, make sure to dust off and wipe down your furniture with denatured alcohol. Denatured alcohol is great for picking up every last bit of dust left on your piece.


What kind of paint do the Inlay Pros use for stenciling furniture?
Before you begin stenciling, you need to add primer and a basecoat to your furniture. Cutting Edge Stencils always recommends using STIX primer. We found that STIX primer provides the best adhesion. You can use a dense foam roller or a chip brush. Once the primer is completely dry, apply your base coat color over it. The basecoat color must have a FLAT LATEX finish. Stenciling results turn out best when both the base coat and stencil color are a flat latex finish. To save a step, you can always go to your local paint store and get a 2-in-1 paint and primer. For this DIY furniture project, we chose Benjamin Moore’s Marina Gray as the base coat color and Benjamin Moore’s Navajo White as the stencil color.


What "Secrets" do I need to know in order to achieve the ultimate inlay look?
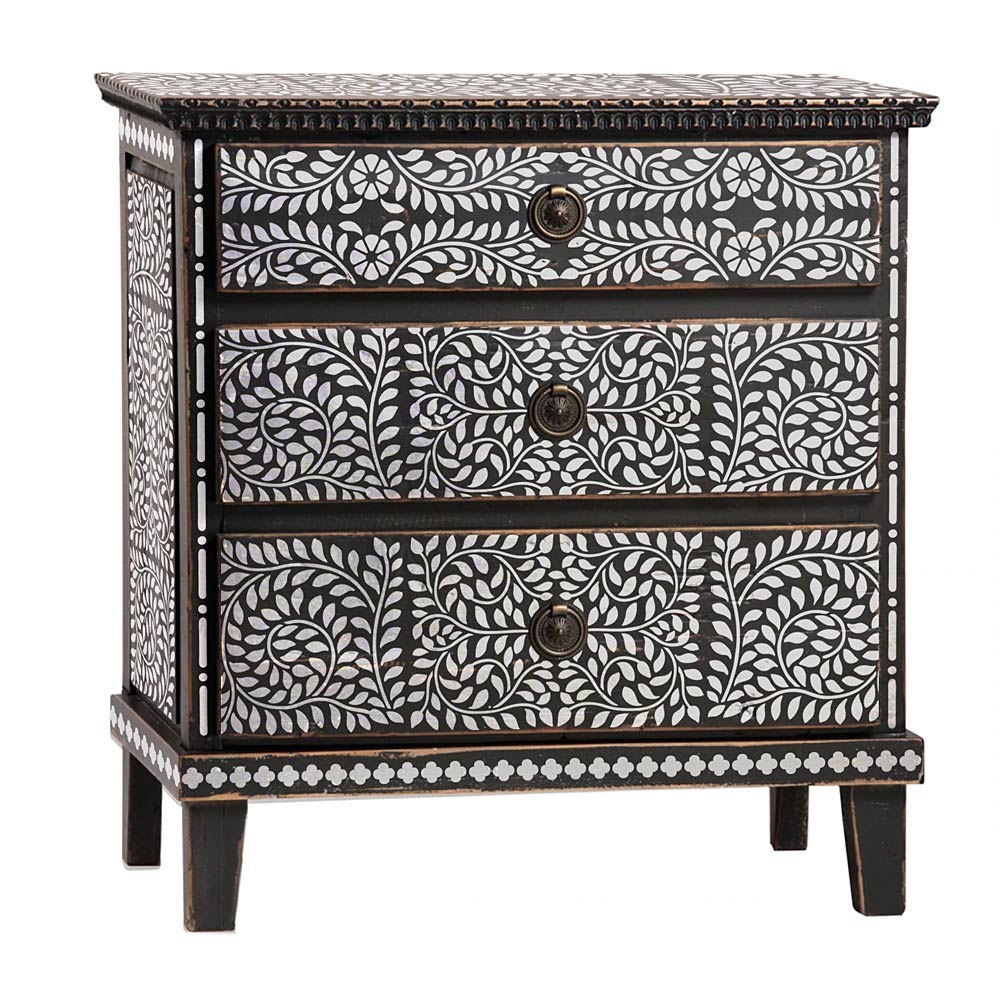
Secret #1: Start with a reference picture. Sometimes the best stencilers need a little inspiration too! I love searching through websites like Apartment Therapy and Pinterest. However, when it comes to inlay furniture inspiration, Anthropologie's Home & Furniture section has everyone beat. Scroll through and find a look you'd like to recreate. If a few blouses end up in your shopping cart on the way...go ahead, buy them. Treat yourself!
Once you've found the perfect inlay inspiration and you're ready to stencil, apply spray adhesive to the back of your furniture stencil and begin stenciling! Pro-tip: In between stenciling, re-apply spray adhesive to your stencils to prevent future possible stencil bleed. You can use any kind of spray adhesive as long as it is a "repositionable" spray adhesive.

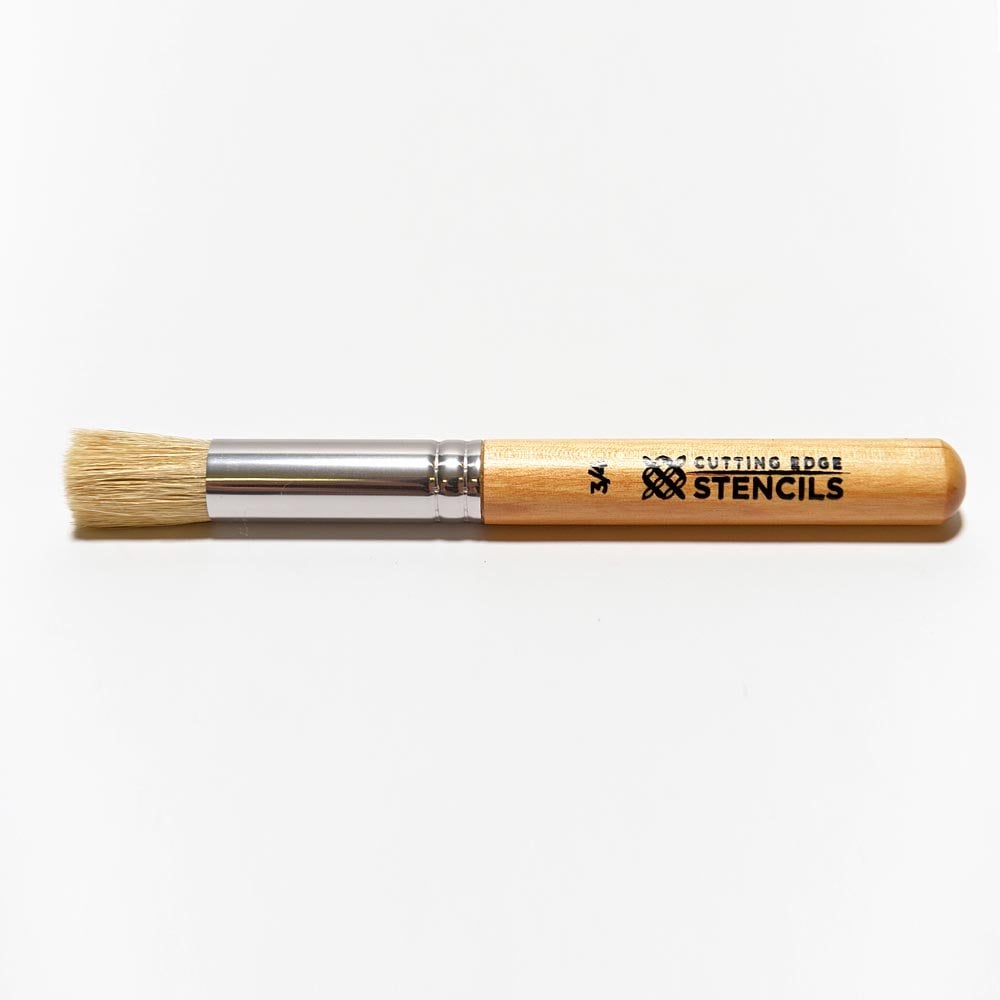
Secret #2: Leave no space unstenciled! Typically bone inlay furniture has a very busy look. Nearly every surface is covered entirely. That’s why we love it! The easiest and fastest way to complete an inlay stencil project is using the largest floral stencil first and work your way around it with more decretive border and floral stencils. I personally like to use the 3/4" Professional Stencil brush when working with inlay stencils, but Cutting Edge Stencils offers multiple brush sizes that can works best for you!

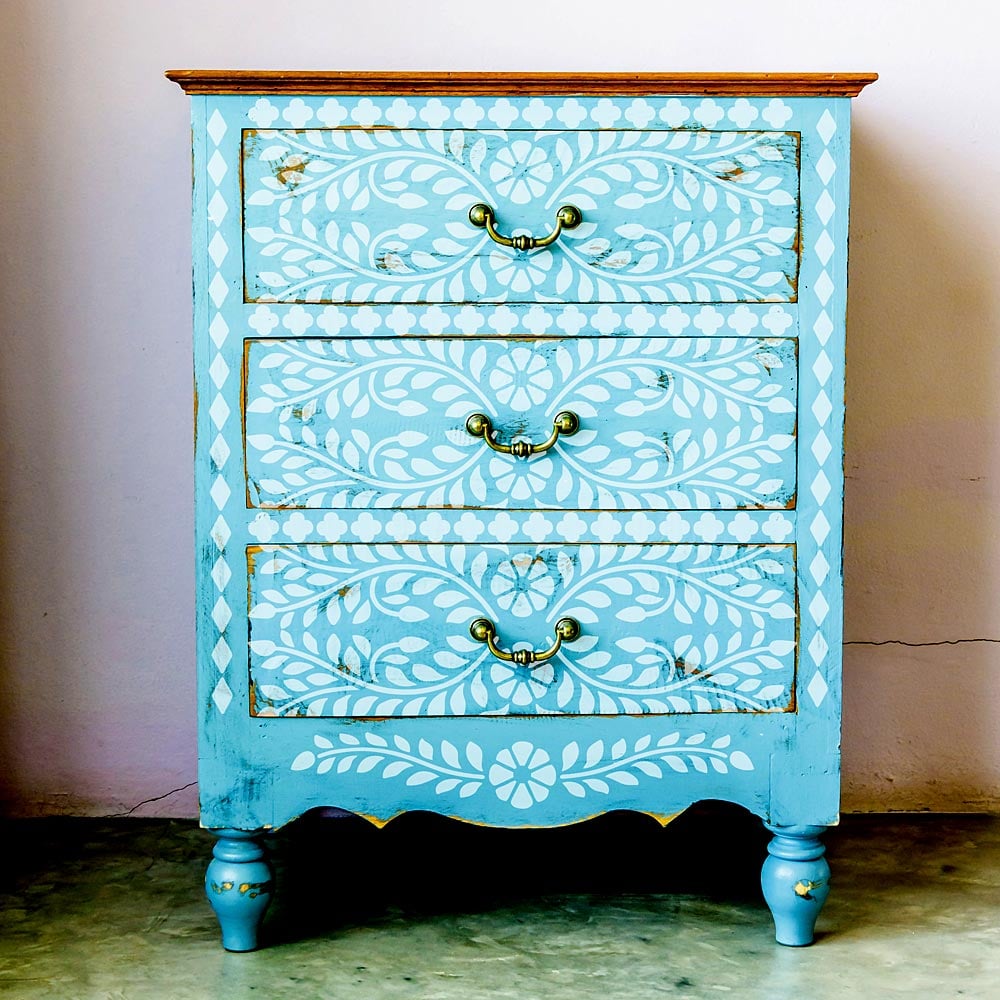
Secret #3: Borders! Borders! Borders! On a majority of classic bone inlay furniture, you see a reoccurring trend of floral patterns surrounded by decretive borders of various all shapes and sizes. You even see borders surrounded by borders. Cutting Edge Stencils inlay stencil kits come with multiple border stencils that are practically identical to what you see on authentic inlay furniture. Personally, when I stencil a decorative border, I always stencil the thin line border around that, especially on a curvy piece like this. I do this because when I start to add the other leaf stencils to fill in the empty space, it will give it a much cleaner look. This is where Pro Tip, The Bigger The Better, comes back into play. Buying the larger stencil kits will open up way more decretive border options when stenciling your accent piece.

Secret #4: Improvise! At this point, you've probably noticed that all of the inlay stencils in your stencil kit are rectangular. If your accent piece has a curvy body, you might think these straight stencils won't work on some parts of your furniture. Well, I'm here to tell you they can!
One way to improvise, and a common Cutting Edge Stencils Pro-Tip, is to simply freehand the little things. I recommend a flat paintbrush the same size as the thin line border stencil to give this half-moon curve a much needed border.

Now it's time to think out of the box, or should I say border...
I stenciled as many rectangular borders as I can fit on this irregular-shaped piece; time to improvise with the other floral/leaf stencils! The leaves are going to give it a more organic feel outside of the borders. Work your inlay stencils like puzzle pieces. As you can see in the picture, I stenciled the large floral stencil at an angle. This gives me the chance to play around with some other leaf stencils and fit them to my liking. Move your stencils where the new leaves meet the previously painted leaves. If you see a perfect fit, you can tape over the unwanted leaves to achieve that look. Remembering Secret #2, leaving no surface unstenciled, I chose the largest floral design and placed it on as much surface as I could.
Pro-Tip: Tape over any surfaces with low tack blue painters tape that you don’t want the paint to get on. Make sure the paint is completely dry before doing so!


O..M..G..! I can't believe how amazing my stenciled inlay piece came out. What can I do to protect all my hard work?
Once dry, roll on 2-3 coats of Varathane water-based polyurethane with a foam roller to seal your furniture. We always recommend water-based polyurethane because it has a rapid dry time, is better for the environment, and doesn’t yellow over time. Pro-tip: Don't shake the can of polyurethane, simply take a popsicle stick and stir it.


The final and most important Inlay Secret: Stenciling is all preference! No matter how your new inlay furniture comes out, it will look fantastic because YOU did it! The satisfaction you feel once your furniture makeover is complete will be worth it! :)


Can't get enough of Cutting Edge Stencils:
- Check out our Facebook Page to see our beautiful customer photos and interact with the people who created them!
- Buy our Tile Stencils or Wall Stencils for your next stencil project, and browse our other wonderful NEW stencil collections!
- Follow us on Instagram and Pinterest and share your designs using #CuttingEdgeStencils. We love seeing your projects!
- Feeling inspired? Check out our other Blog posts for more inspo and stencil designs!
Thanks for reading and happy stenciling!


