Create Five Stenciled Farmhouse Signs From One Pallet
DIY Rustic Fall Decor Using Stencils
Welcome back, Cutting Edge Stencil friends! Fall is approaching rapidly and what better way to celebrate than with some DIY stenciled fall décor? Rustic farmhouse signs are everywhere, especially this time of year. The best part is that they are easy to create with the help of stencils! This week we’ll show you how we managed to make and stencil five different farmhouse signs from just one wooden pallet. Let’s get stenciling!
Products:
-Farmer’s Market Sign Stencil
-Thankful Sign Stencil
-Old Farmhouse Sign Stencil
-Grateful Sign Stencil
-Farm Fresh Eggs Sign Stencil
-Wood Palette
-Wood Glue
- 120 Grit Sandpaper
-Hammer
-Nails
-Power Saw
-Professional Stencil Brushes
-Chip Brushes
-Spray Adhesive
-Benjamin Moore Navajo White
-Benjamin Moore Spiced Pumpkin
-Benjamin Moore Delightful Golden
-Benjamin Moore Black
-Benjamin Moore Peridot
-Grey Acrylic Paint
-Burnt Sienna Acrylic Paint
-Blue Painter’s Tape
-Paper Towels
-Water-based Wood Stain
-Wooden Basket (optional)
Before you read on, check out the steps in action:
We started off with a typical wooden palette and used a power saw to cut the horizontal pieces off of the palette. These pieces of wood should all generally be the same size.
Then, Greg applied industrial strength wood glue to the back of each piece of wood. He placed the pieces of wood horizontally on a spare sheet of ¼” plywood. The edges of the individual pieces of wood should touch each other so there are no gaps in the sign.
We let the glue dry overnight before cutting the shapes of the signs. To ensure the wood wouldn’t distort, we placed heavy objects on top. The next day, Greg measured out the desired sizes of each sign.
With a power saw he was able to cut out each sign with precision.
For every sign, we sanded the surface, edges, and sides with 120 grit sandpaper. This creates a smooth base for stenciling. Plus, sanding is super easy and only takes a few minutes to complete.
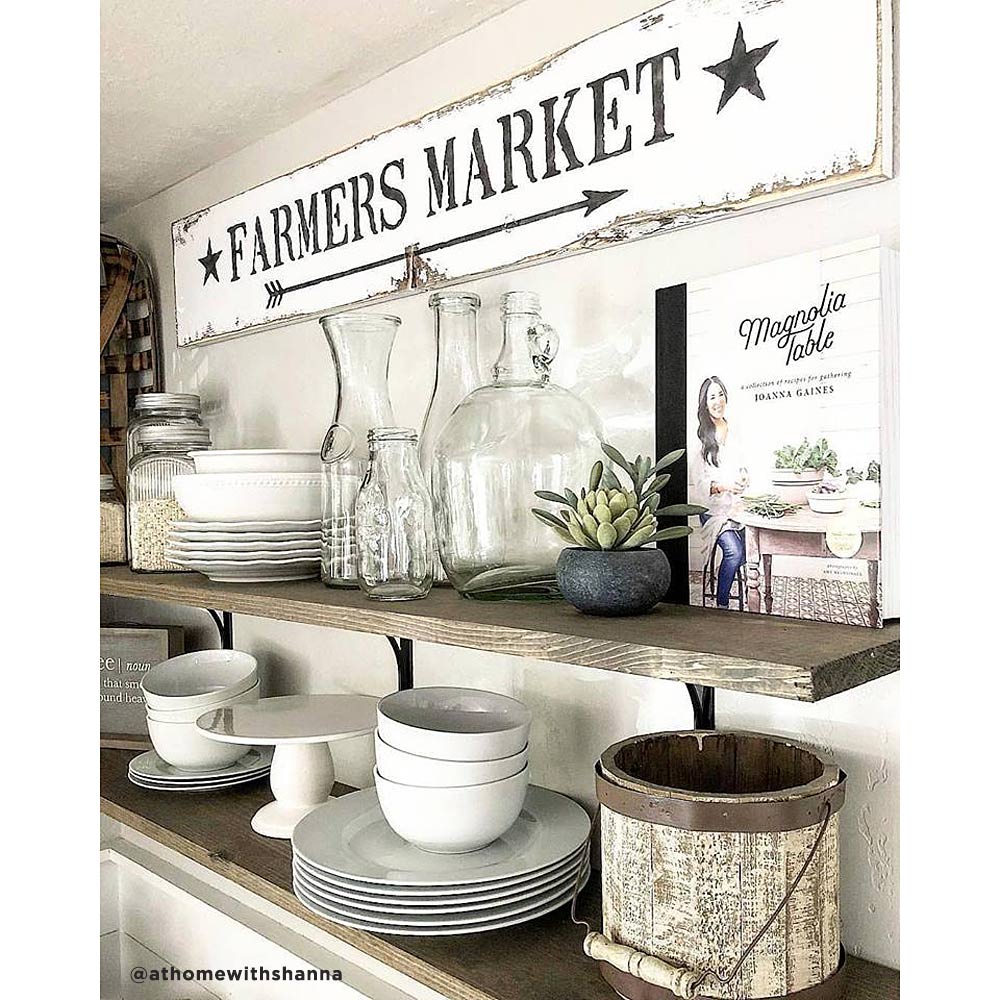
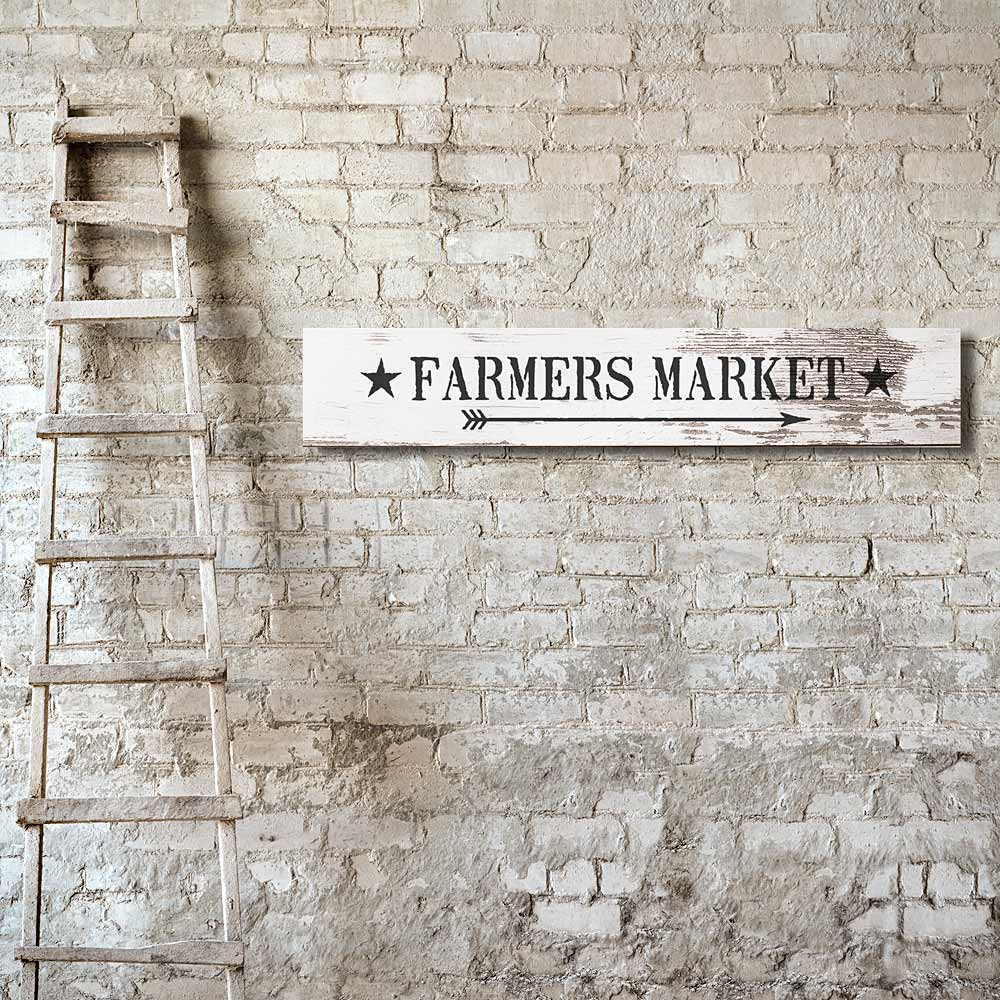
Because we wanted each sign to have a different look, we used a specific technique for every stenciled sign. For the farmer’s market we first used a chip brush to paint the surface, sides, and edges a rustic red.
Once the paint was dry we placed the stencil in the center of the sign and stenciled the letters in gold and the arrow in white.
We used two different colors because we wanted each element to pop on their own. Feel free to use your own combination of colors to make your sign unique!
To add dimension to the sign, we decided to add a black border. We used a mini chip brush and a small amount of paint to delicately line the edges with black. This is completely optional of course!
The finished product looks beautiful displayed in the garden or indoors. And the colors practically scream fall décor!
For our Thankful sign we decided to create a distressed look using a technique called dry brushing. That may sound intimidating, but it’s simple! We used a chip brush with a small amount of Navajo White paint and gently moved the paint brush back and forth on random sections of the sign. We made sure leave some area’s unpainted! The key is to vary the amount of pressure on the brush so that some areas are darker than others. This creates the illusion that the sign has been beautifully weathered!
Using a professional stencil brush, we stenciled the words with a grey acrylic paint and the surrounding leaves in a deep green. We wanted the words to stand out, but we also wanted to keep to the rustic theme. The green really tied the whole sign together and added that eye-catching pop of color.
Isn’t this sign just perfect for a living room or above a fireplace? We love the way it turned out!
For our Old Farmhouse sign we felt that simple was better! We started off by painting the entire sign Navajo White using a chip brush.
Then with a professional stencil brush we stenciled the words with black paint. The black lettering on white surface will create a gorgeous contrast. And it couldn’t get any easier to do!
We wanted a black border around the edges, but with a tighter look compared to the Farmer’s Market sign. So, we used blue painter’s tape to create a perfect rectangular border around the entire sign.
With a professional stencil brush, we used dabbing motions to paint the border. This is called “pouncing”.
Once we removed the tape we were left with clean, crisp lines. The finished sign looks amazing and fits perfectly in our kitchen. The rustic font really adds to the appeal of this stencil!
For our Grateful sign we wanted a distressed look similar to our Thankful sign, but with a slight twist. We started off by painting the sign completely white.
Using a chip brush and a small amount of burnt sienna acrylic paint, Erika used gentle swiping motions (dry brushing) in random areas of the sign. She applied harder pressure for darker shading and lighter pressure for subtle shading. Like the white dry brushing from the Thankful sign, this brown dry brushing mimics natural weathering. So much easier than actually waiting years for a sign to become distressed! She also dry brushed the edges of the sign to create a natural patina effect.
Using a professional stencil brush, she stenciled the words in black paint. We felt that black was a classic color choice and would also stand out against this rustic farmhouse sign.
Isn’t this stenciled sign breathtaking? It’s amazing that it was created with just some wood, paint, and a stencil!
For our Farm Fresh Eggs sign, we wanted to up our stencil game! First, we used a water-based wood stain to stain our sign darker than the original color. We really wanted the lettering to pop on this sign, so we figured a coffee colored wood would work great! Using a chip brush, Erika applied an even coat of wood stain to the sign. She made sure to paint in the direction of the grain so the stain looked as natural as possible.
She then used a paper towel to wipe the excess stain off the wood.
After she let the stain completely dry, Erika repeated the process with the small basket.
Then she placed the Farm Fresh Eggs stencil on the wood so that the words “farm fresh” were at the top of the wood. Using a professional stencil brush and Navajo white she stenciled the first two words.
She realigned the stencil so “Eggs” was directly below “Farm Fresh.” We wanted the words to be grouped together on this sign to leave room for the basket on the bottom.
Erika realigned the stencil so the chicken was directly beneath the words. She stenciled the chicken with a professional stencil brush and then peeled back the stencil.
Erika used a hammer and nails to attach the small basket to the sign.
The final sign turned out amazing. It looks great in a kitchen or dining room!
We could not be more in love with our five new stenciled signs! All of them were easy to make and won’t break the bank. Who knew a single palette could be converted into such beautiful stenciled masterpieces? Where would you hang these stenciled farmhouse signs? Leave your thoughts in the comments below! Can’t get enough of Cutting Edge Stencils:
Check out our Cutting Edge Stencils Facebook Page to see beautiful customer photos and interact with the people who created them!


 Products:
-Farmer’s Market Sign Stencil
-Thankful Sign Stencil
-Old Farmhouse Sign Stencil
-Grateful Sign Stencil
-Farm Fresh Eggs Sign Stencil
-Wood Palette
-Wood Glue
- 120 Grit Sandpaper
-Hammer
-Nails
-Power Saw
-Professional Stencil Brushes
-Chip Brushes
-Spray Adhesive
-Benjamin Moore Navajo White
-Benjamin Moore Spiced Pumpkin
-Benjamin Moore Delightful Golden
-Benjamin Moore Black
-Benjamin Moore Peridot
-Grey Acrylic Paint
-Burnt Sienna Acrylic Paint
-Blue Painter’s Tape
-Paper Towels
-Water-based Wood Stain
-Wooden Basket (optional)
Before you read on, check out the steps in action:
We started off with a typical wooden palette and used a power saw to cut the horizontal pieces off of the palette. These pieces of wood should all generally be the same size.
Products:
-Farmer’s Market Sign Stencil
-Thankful Sign Stencil
-Old Farmhouse Sign Stencil
-Grateful Sign Stencil
-Farm Fresh Eggs Sign Stencil
-Wood Palette
-Wood Glue
- 120 Grit Sandpaper
-Hammer
-Nails
-Power Saw
-Professional Stencil Brushes
-Chip Brushes
-Spray Adhesive
-Benjamin Moore Navajo White
-Benjamin Moore Spiced Pumpkin
-Benjamin Moore Delightful Golden
-Benjamin Moore Black
-Benjamin Moore Peridot
-Grey Acrylic Paint
-Burnt Sienna Acrylic Paint
-Blue Painter’s Tape
-Paper Towels
-Water-based Wood Stain
-Wooden Basket (optional)
Before you read on, check out the steps in action:
We started off with a typical wooden palette and used a power saw to cut the horizontal pieces off of the palette. These pieces of wood should all generally be the same size.
 Then, Greg applied industrial strength wood glue to the back of each piece of wood. He placed the pieces of wood horizontally on a spare sheet of ¼” plywood. The edges of the individual pieces of wood should touch each other so there are no gaps in the sign.
 We let the glue dry overnight before cutting the shapes of the signs. To ensure the wood wouldn’t distort, we placed heavy objects on top. The next day, Greg measured out the desired sizes of each sign.
 With a power saw he was able to cut out each sign with precision.
 For every sign, we sanded the surface, edges, and sides with 120 grit sandpaper. This creates a smooth base for stenciling. Plus, sanding is super easy and only takes a few minutes to complete.
 Because we wanted each sign to have a different look, we used a specific technique for every stenciled sign. For the farmer’s market we first used a chip brush to paint the surface, sides, and edges a rustic red.
 Once the paint was dry we placed the stencil in the center of the sign and stenciled the letters in gold and the arrow in white.

 To add dimension to the sign, we decided to add a black border. We used a mini chip brush and a small amount of paint to delicately line the edges with black. This is completely optional of course!
 The finished product looks beautiful displayed in the garden or indoors. And the colors practically scream fall décor!
 For our Thankful sign we decided to create a distressed look using a technique called dry brushing. That may sound intimidating, but it’s simple! We used a chip brush with a small amount of Navajo White paint and gently moved the paint brush back and forth on random sections of the sign. We made sure leave some area’s unpainted! The key is to vary the amount of pressure on the brush so that some areas are darker than others. This creates the illusion that the sign has been beautifully weathered!
 Using a professional stencil brush, we stenciled the words with a grey acrylic paint and the surrounding leaves in a deep green. We wanted the words to stand out, but we also wanted to keep to the rustic theme. The green really tied the whole sign together and added that eye-catching pop of color.

 Isn’t this sign just perfect for a living room or above a fireplace? We love the way it turned out!

 For our Old Farmhouse sign we felt that simple was better! We started off by painting the entire sign Navajo White using a chip brush.
 Then with a professional stencil brush we stenciled the words with black paint. The black lettering on white surface will create a gorgeous contrast. And it couldn’t get any easier to do!

 We wanted a black border around the edges, but with a tighter look compared to the Farmer’s Market sign. So, we used blue painter’s tape to create a perfect rectangular border around the entire sign.
 With a professional stencil brush, we used dabbing motions to paint the border. This is called “pouncing”.
 Once we removed the tape we were left with clean, crisp lines. The finished sign looks amazing and fits perfectly in our kitchen. The rustic font really adds to the appeal of this stencil!
 For our Grateful sign we wanted a distressed look similar to our Thankful sign, but with a slight twist. We started off by painting the sign completely white.
 Using a professional stencil brush, she stenciled the words in black paint. We felt that black was a classic color choice and would also stand out against this rustic farmhouse sign.

 Isn’t this stenciled sign breathtaking? It’s amazing that it was created with just some wood, paint, and a stencil!
 For our Farm Fresh Eggs sign, we wanted to up our stencil game! First, we used a water-based wood stain to stain our sign darker than the original color. We really wanted the lettering to pop on this sign, so we figured a coffee colored wood would work great! Using a chip brush, Erika applied an even coat of wood stain to the sign. She made sure to paint in the direction of the grain so the stain looked as natural as possible.
 She then used a paper towel to wipe the excess stain off the wood.
 After she let the stain completely dry, Erika repeated the process with the small basket.
 Then she placed the Farm Fresh Eggs stencil on the wood so that the words “farm fresh” were at the top of the wood. Using a professional stencil brush and Navajo white she stenciled the first two words.
 She realigned the stencil so “Eggs” was directly below “Farm Fresh.” We wanted the words to be grouped together on this sign to leave room for the basket on the bottom.
 Erika realigned the stencil so the chicken was directly beneath the words. She stenciled the chicken with a professional stencil brush and then peeled back the stencil.
 Erika used a hammer and nails to attach the small basket to the sign.
 The final sign turned out amazing. It looks great in a kitchen or dining room!
 We could not be more in love with our five new stenciled signs! All of them were easy to make and won’t break the bank. Who knew a single palette could be converted into such beautiful stenciled masterpieces? Where would you hang these stenciled farmhouse signs? Leave your thoughts in the comments below! Can’t get enough of Cutting Edge Stencils: