Easy DIY Accent Pillows Using the Tribal Arrow Paint-A-Pillow Kit
Happy Wednesday, my pillow painting friends. Wondering why we’re so chipper this Wednesday morning? Well, Cutting Edge Stencils just announced its October Stencil Sale. So go ahead and shop away because now is the time to buy that trendy arrow stencil that you’ve been eyeing. Then take 20% off all stencils using the code OCT2014 at the check out.
Speaking of those trendy arrow patterns, we’re excited to share a stenciled pillow idea from our sister company, Paint-A-Pillow. For those that missed it, we introduced Paint-A-Pillow here but to give you a quick refresher, it’s an innovative stenciling kit that will allow you to create your own designer accent pillows in a snap. Come take a look at today’s inspirational pillow project.
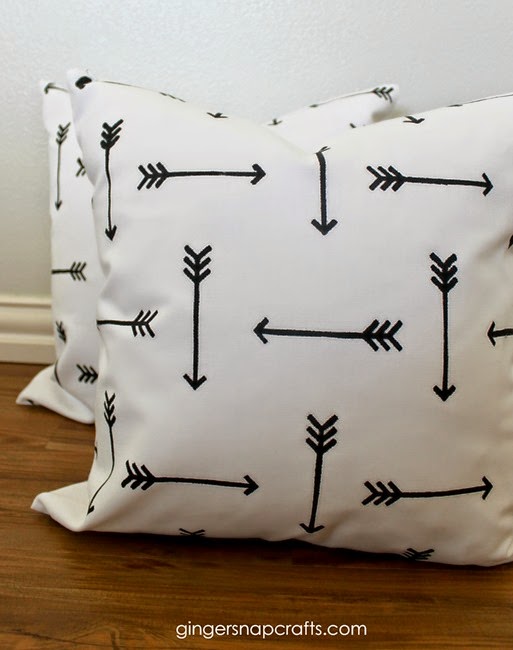
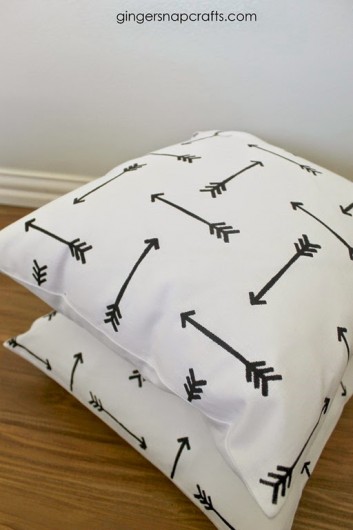
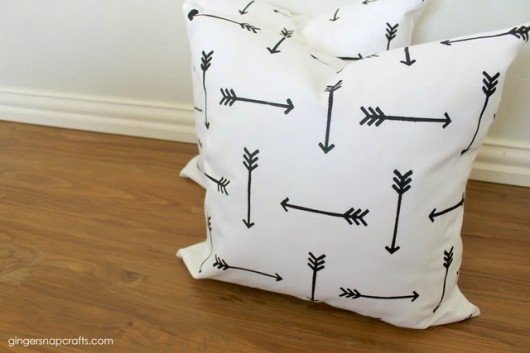
We’d like to introduce Ginger, the clever crafter behind the blog Ginger Snap Crafts. Ginger has stenciled several craft projects including this spooktacular Chevron striped Trick-or-Treat tote so she was super excited to try out Paint-A-Pillow. Ginger is working on a bedroom makeover for her 13 year old daughters with a black and white theme. She chose our Tribal Arrows kit with white fabric and black paint. Here is what she created with her pillow stencil kit:
We think it’s the perfect accent for a teen girl bedroom! Now let’s talk about how you could easily recreate these trendy pillow covers.
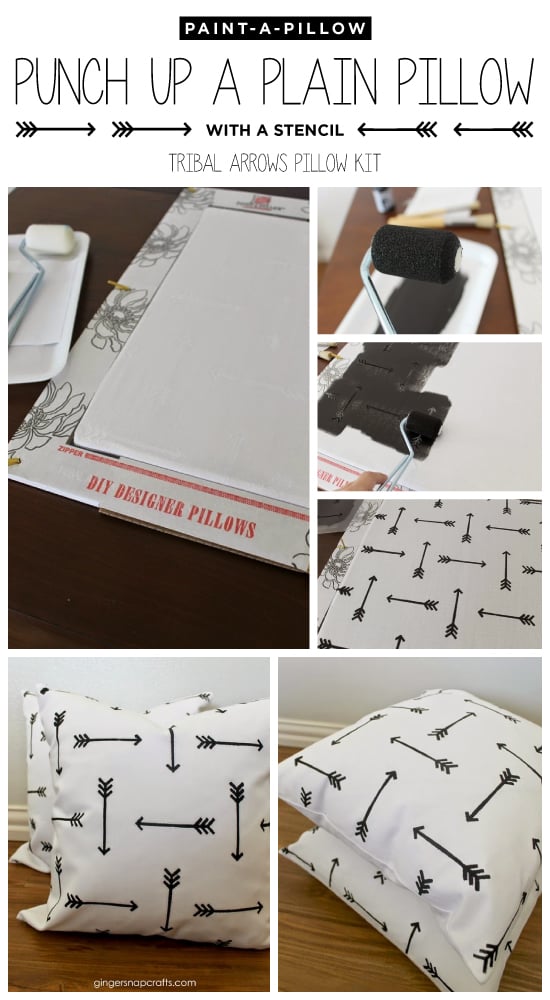
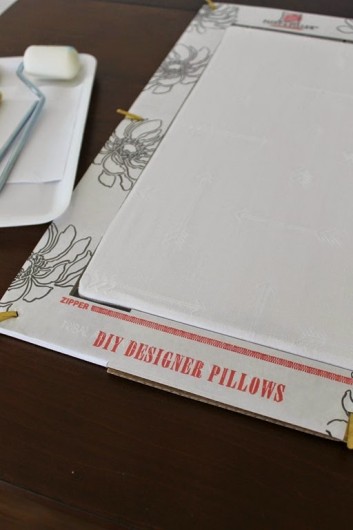
Ginger was excited to receive her pillow kit in the mail. She happily opened her box to see that her kit included a stencil, pillow cover, pillow insert, fabric paint, and painting tools. She was all set to go!
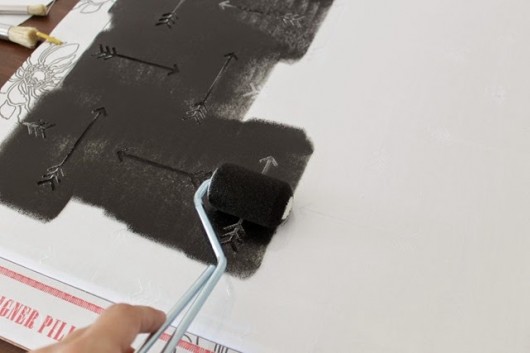
Ginger poured her black fabric paint into a foam tray. Then she used a dense foam roller to paint the tribal pattern in black. She said, “The secret to getting a nice, smooth stencil is to have the paint spread evenly on your roller. You don’t want any glops.” If you’re recreating this at home then follow Ginger’s advice and be careful not to overload the roller with paint. Roll off the excess paint onto a folded paper towel until the brush or roller looks almost dry. The key to stenciling is using as little paint as possible. Too much paint will cause the design to bleed and smudge.
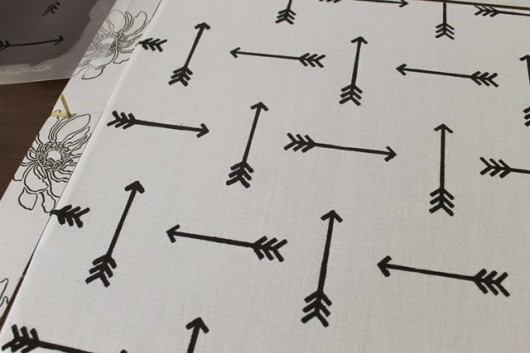
Once the entire pillow cover was painted, Ginger peeled back the metal tabs holding the stencil in place and revealed her pretty arrow pattern. Then she was ready to stencil the other side of her accent pillow.
After the paint was dry, Ginger heat set the stencil by placing a piece of fabric on top of the cover and running a warm iron over it. The heat sets the paint making the pillow cover washable.
She had this to say about her finished project, “I love easy projects that turn out so well. :) I also love this simple design of this pillow! These pillows are going to look great in their bedroom. ”
Want to win a free Paint-A-Pillow kit? Of course you do! Jump on over to Ginger’s blog and enter her giveaway.
Tell us: What color would you stencil this Tribal Arrow pattern? Leave us a comment below!
Looking for more Paint-A-Pillow fun?
- Shop our Paint-A-Pillow kits and find the perfect design for your home!
- Follow us on Pinterest to see awesome inspirational photos!
- Have you completed a pillow project? Come share it on Facebook!
Thanks for reading, and happy stenciling!
Michelle and the Paint-A-Pillow Team
